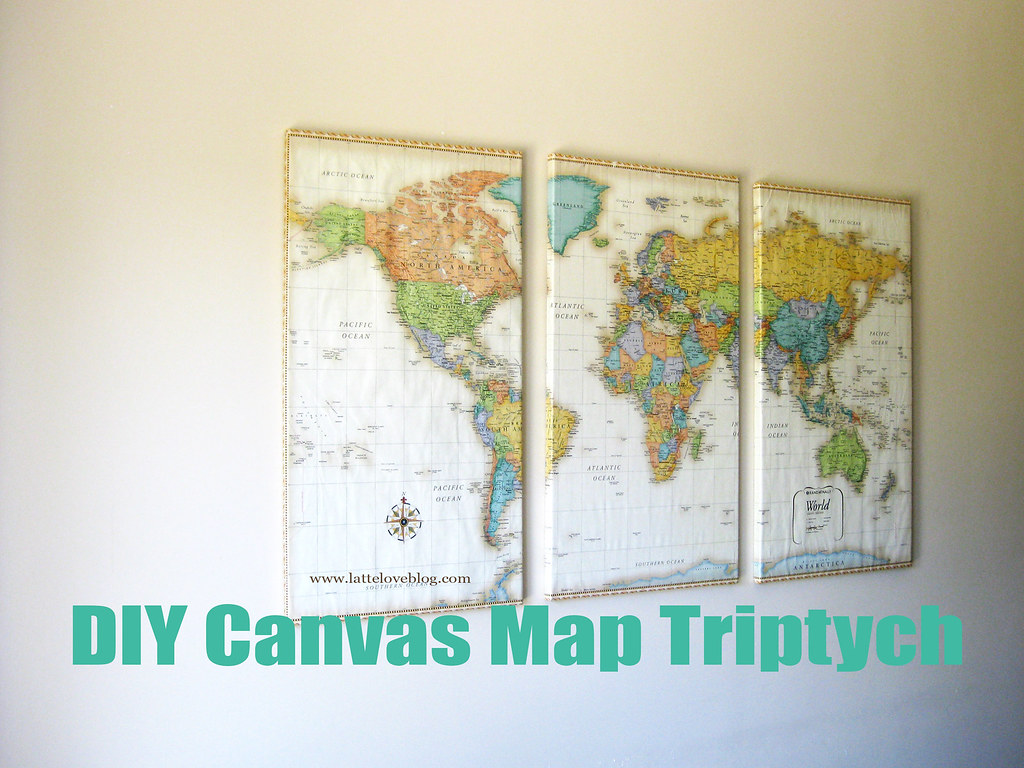
File this in the category of DIY defeats.
Okay, so the final product is actually tolerable (and I bet most of you won't notice the most significant mistake at first glance) but boy was this project more agonizing than I planned.
E has been wanting some new kitchen decor for a while, but now that we have a
new dining set,
it was a good time to update from the fabric wrapped canvases we'd hung
on the empty wall in the first few weeks of marriage, four and a half
years ago.
I had read
four different tutorials for
similar projects just to be as prepared as possible. I should have taken a hint that in every tutorial the blogger wrote that it didn't work out exactly like they planned. So while I'm going to share what I did and what I learned, perfectionists beware: this isn't one of those projects that will look completely polished at the end. But I hope that my more detailed directions might help!
Supplies:
I ordered custom-made canvases from so that I could include as much of
the canvas as possible. With all of the standard options I found in craft
stores, I would have lost at least eight inches vertically, so no Antarctica, Greenland, North Pole, etc. I bought two maps for the triptych: one for the two sides and another for the middle.
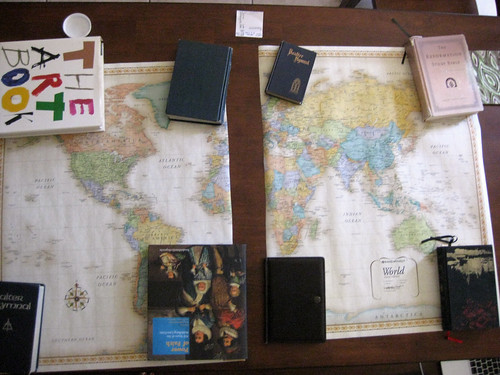
1. Weight the map down with books or other heavy objects to flatten it. Cut the first map directly down the middle (as shown.) Cut about 10 inches off of each side of the second map, as straight as possible.
2. Measure about 2 inches down from the top of the map on the back, and and make tiny marks with a pencil across the top. This is the part of the map you will wrap around the canvas on the first side.
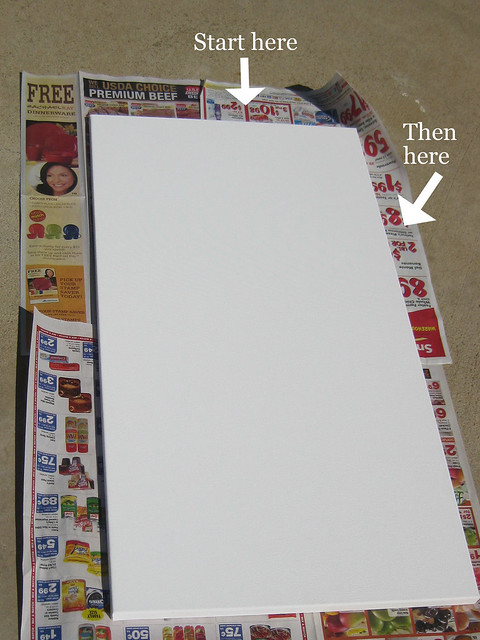
3. Spray poster mount generously on the paper and then very carefully line up the tiny marks with the top edge of the canvas. Before pressing firmly, slowly eyeball a straight line down on the right. When you're confident of placement, press firmly on the top portion of the frame and the right side of the frame (leaving the bottom and left side loose).
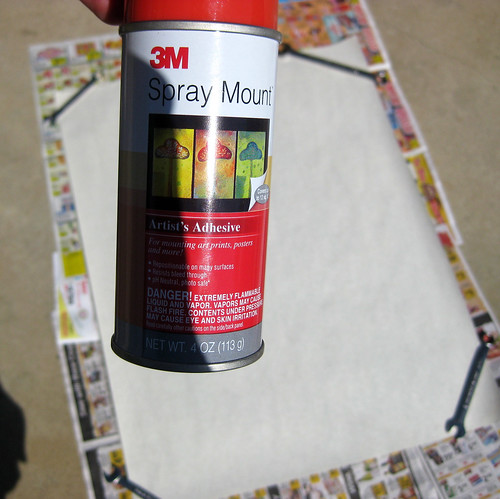
4. On a clean, news-papered surface, turn the canvas over and spray the edge of the frame and the back side of the map generously with adhesive. Pressing down firmly and pulling the map gently, secure the map completely around the
top edge of the frame to the back. (the first side is the hardest!) I also added some craft glue to this step for security.
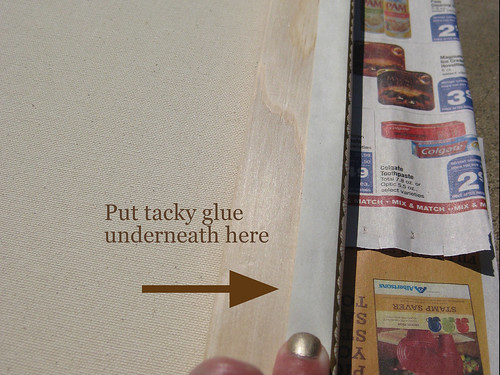
5. Gently but firmly press, pull and secure the
right side next. Snip the corner of the paper and fold as shown (like a gift box).
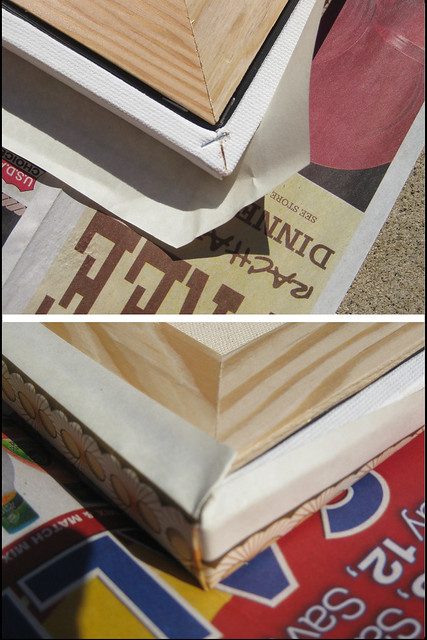
6. Then (I didn't discover this important step until the third canvas and it made a big difference) take one (clean) hand on the top of the map, and one hand on the back of the soft part of the canvas and press the layers firmly together from the already wrapped top corner to the unwrapped bottom corner. This will significantly reduce bubbling when you add the Mod Podge.
7. Continue spraying, pulling, pressing and gluing the last two sides. Once they are wrapped all the way around the back of the canvas, use an X-Acto knife to cut off any excess paper.
8. Very gently take a foam brush and lightly wipe Mod Podge over the finished product in one smooth layer. Any globs and your paper will bubble and start to disintegrate. This will happen either way...and it is the most frustrating product of this project.
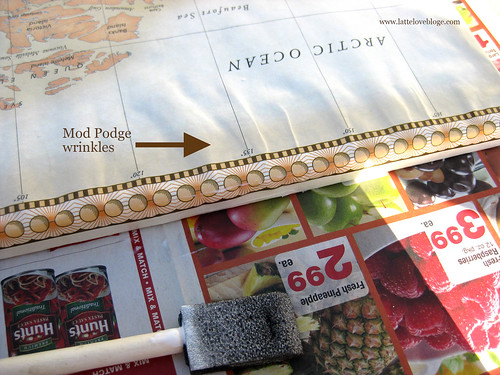
9. Set your first canvas aside to dry and repeat two more times! (note: be very careful how you line up your country overlaps. Try to leave a half inch overlap as to make the map as continuous as possible. I used the guiding lines to make my guesstimates, but I made a mistake and now I'm missing a bit of Brazil and Greenland!)
10. Finally, spray the dried canvases with a matte acrylic sealant. I did two layers, just in case they ever needed to be wiped clean, the paper should stay intact.
11. Hang up your canvases on another day, when you have the energy to measure and level them.


