Monday, March 19, 2012

DIY: cable spool coffee table

spool3

I'm the last person that should be writing this post. I have almost no innate creativity and no experience working with power tools. But in week, I completed a home project I'd found on Pinterest (sadly, with no original photo source) and in the Design*Sponge book, that has been on my wishlist for a couple years.

I'm going to include a light tutorial, but please feel free to ask questions if you have them, and I'll do my best to answer! A friend (you just saw her beautiful wedding) and I worked on this project together. I had the inspiration/motivation to get it started, and she had the space, experience and power tools.

Here's what you'll need (I didn't have ANY of these tools or supplies before I got started. Most of you probably have some tools on hand already, but I'll include everything I used)
  • Electrical cable reel (or spool). We picked up these spools at a local electrical supply company that literally had piles of them lying behind their warehouse. We were permitted to pick them up for free. (total score!)
  • A power sander (like this, or a smaller version here)
  • Cordless drill with screw-driving and drilling bit sets
  • 1 inch spade drill bit
  • Wood stain
  • 2.5 inch screws
  • Compass, or soft measuring tape
  • 8 feet of 1 inch dowel rods (I used 5 pieces cut at 18" each and trimmed them up as needed)
  • level
  • wrench
  • hammer
Ok! here we go.

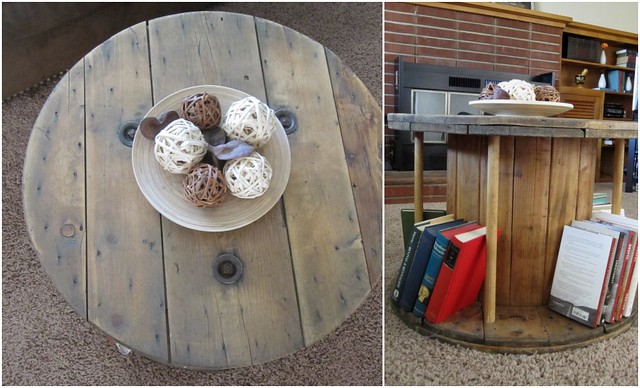
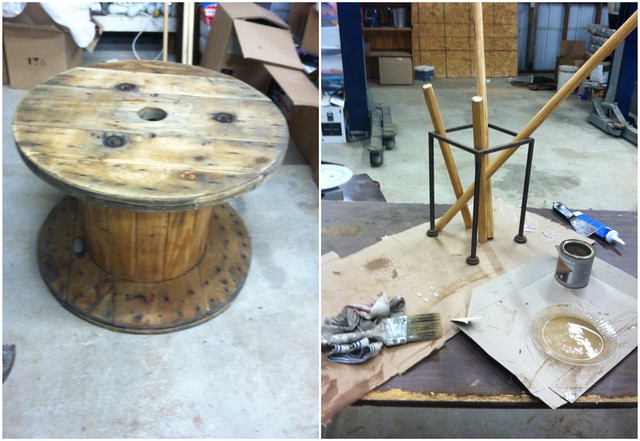
This is what the spool looked like when I got started.  

(I had already removed a metal plate from the top)

First, hammer down the nails sticking out to make a smooth surface.
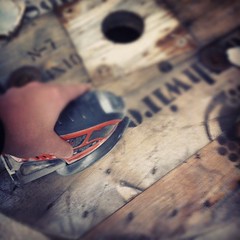
Then sand, sand, sand. My goal was to get rid of most of the stamped letters and paint on top and any other imperfections in the wood. I used the electric sander on the surface for probably an hour before it looked and felt like what I wanted. I lightly sanded the sides, the center cylinder, and the bottom up-facing surface, to protect from splinters. Then I took a piece of sand paper and hit some spots around the center hole by hand. 


Once it was completely sanded, I wiped it gently with a damp washcloth, then brushed one layer of Ikea's Behandla wood stain on it. I stained the dowels as well and left both to dry. (Because I was working on this project at my friend's, I came back about 5 days later, but an overnight dry would have been enough.)
spool

When the stain was dry I started marking out where I would install the dowels. This would have been much easier with a compass, so that's what I included above. I marked out 5 places where I wanted the dowels, about 18" apart and measured them halfway in from the edge, which was 2.5". I marked them on the inside of the top, and on the bottom.
spool2

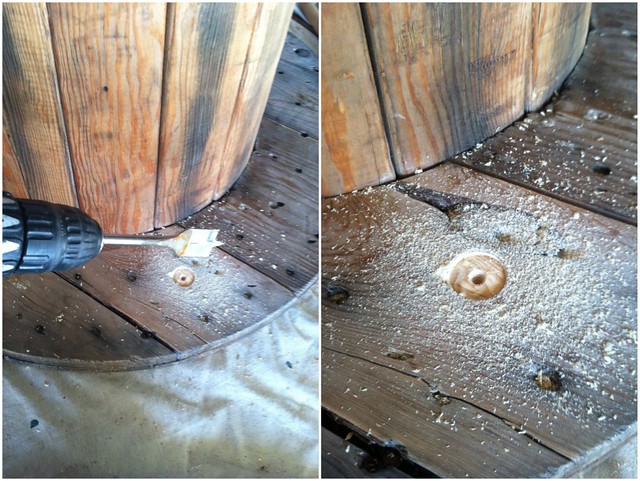
I drilled a 1 inch bevel for the dowel to sit in on the underside of the top (the table was upside down here).  I measured the space carefully and added about 1/8" for the dowel length, and cut it. Placing one side of the dowel in the groove, I used a rubber mallet to hammer the dowel until it leveled evenly. Then I drilled a small hole for a screw through the bottom of the table and into the dowel, and screwed the flat end of the dowel to the bottom.


I did this around each point and then wiped the whole thing clean.


After getting it home, I decided I wanted another layer of stain on the top so I applied that, and then sprayed it with an indoor wood sealant to protect from water stains. 4 coats and 3 hours later, it was finished. (I was ready to bring it inside, but it smelled pretty strongly for 2 days afterwards so it should have probably be left out in a garage for a few days to air out.)

Total cost (to me): $40
Total time: 8 hours
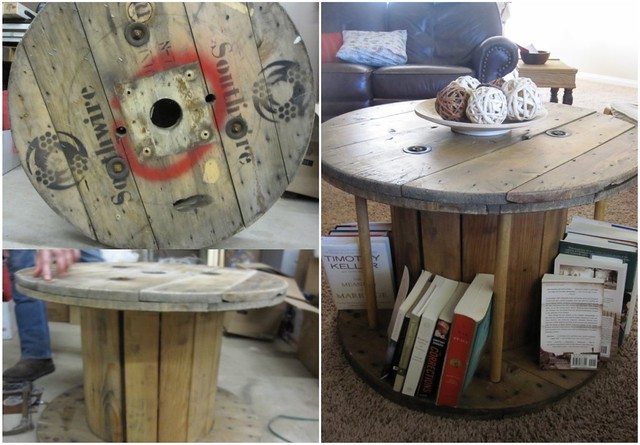
before and after

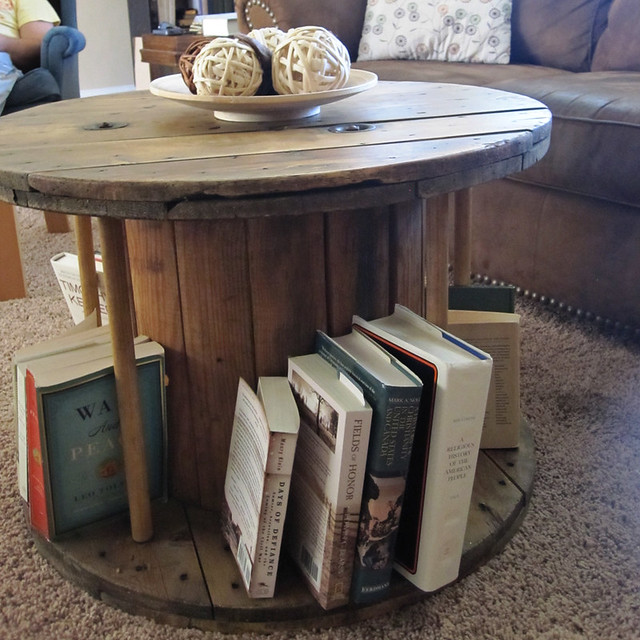
and then - ta da! We put some of our favorite books on display and I topped it temporarily with this decorative plate and bark balls from Ikea.

spool4

spool2

spool final

Friday, March 16, 2012

instagrammed: catching up

Judging by the radio silence and/or light posting of a lot of my regular blog reads, I must not be the only one feeling a little blah on the writing front lately. (but I am going to share a cool project next week - so please don't give up on me yet)

Here's a Friday-appropriate, cop out post of instagram pics.

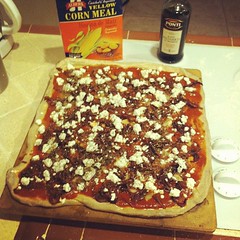
My hair is found weird things today. Still trying to figure out my new style. Got a cute package of jewelry today from @raphaela325 that I won in their blogiversary giveaway! Caramelized onion, roasted garlic, goat cheese pizza. It's what's for dinner New hair cut! My stylist showed me how to curl with a flat iron and I'm loving it.
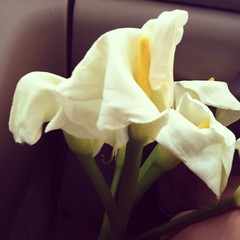
I forgot how fragile calla lilies are. (after an hour in the car :-/ ) Indian food on girls night!
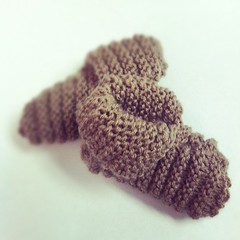
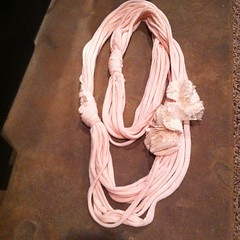
This weekend's project: Little baby booties for more friends' babies. Goal of the month: get through repair/remake pile any way it takes. Project of the night: tshirt necklace, inspired by many pins.
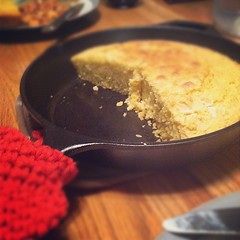
My homemade skillet cornbread got audible groans from the guys.... #winning Project night!! Any guesses as to what I'm working on at the shop?

1. rather blah hair day trying to figure out a new style.
2. I was a winner in the 2nd anniversary giveaway at In Pursuit of Pretty Things! (Thanks, Carol & Kathryn)
3. dinner: goat cheese, caramelized onion, roasted garlic pizza. yum
4. what my hair looked like right after walking out of the salon...perfect and unrepeatable
5. picked a bunch of calla lilies from our yard to bring to a friends for lunch. Sadly, they wilted on the way.
6. Indian food on girls night!
7. DIY knit baby booties (I finished them off with a tiny pink polka dot ribbon)
8. a t-shirt necklace made from a shirt I ruined last year.
9. homemade skillet cornbread - elicited audible groans from the boys = huge win
10.  sneak peek of the project I'm sharing next week.

ps. follow me on instagram - I'm lattelove

Happy Friday, friends!

I'm going to make these mint chocolate chip cookies and maybe have a Guinness with E this weekend. Then we're going to start working on our garden!

Monday, March 12, 2012

New Year's Eve DIY Wedding


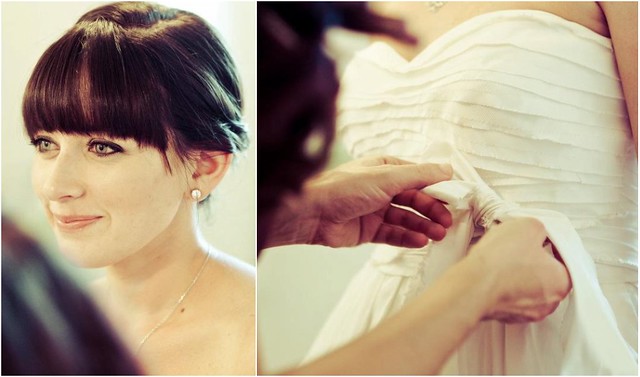
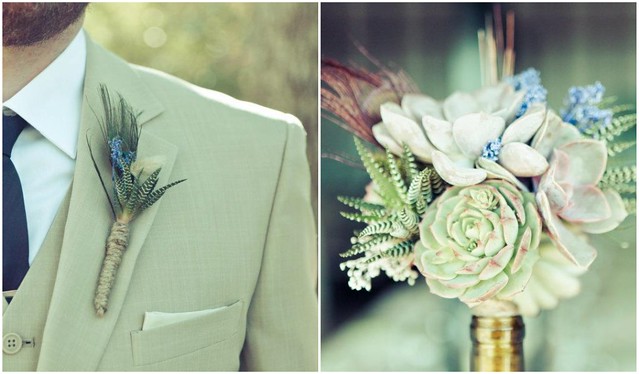
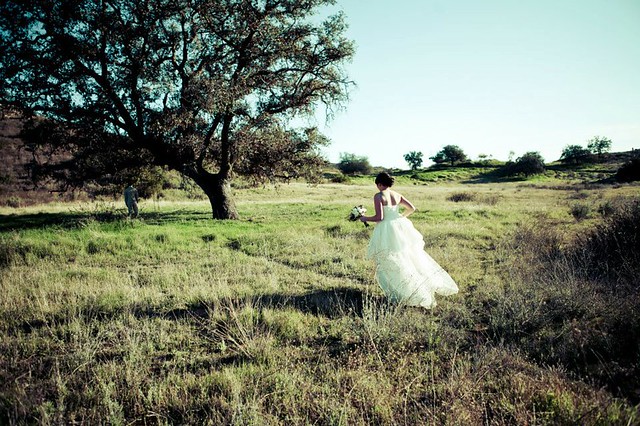
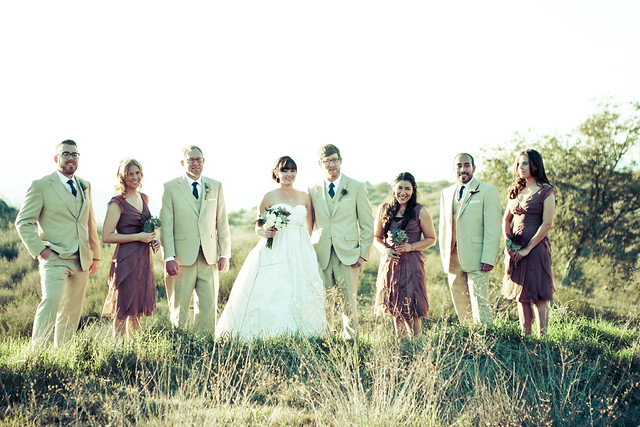
Remember my friend's beautiful DIY wedding? I shared a few of my instagram pics of the night here, but now I'm excited to share her professional wedding pictures from Hey Jonny.

My friend Tricia will be posting about a lot of the projects and stories of putting their wedding together on their new blog: http://oururbanfrontier.com/. She and her husband are masters at finding and executing beautiful DIY projects for everything from home decor to gardening.

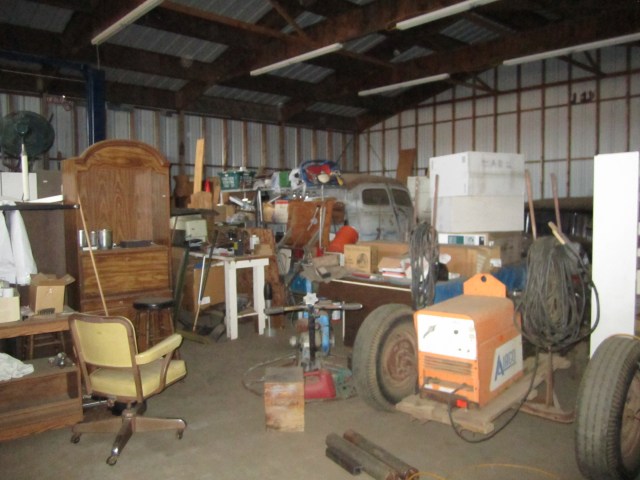
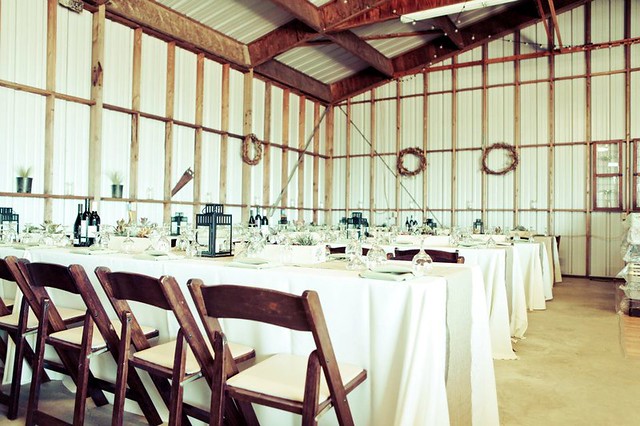
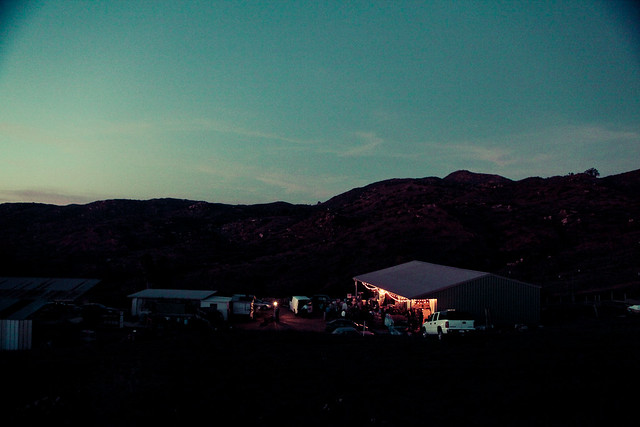
Before I get to the wedding, I have to start with the transformation they made to the 'shop'for their venue. It was a spare barn on the father of the groom's avocado ranch, and with the help of friends and family they transformed into a perfect wedding venue.

Before
Phil and Tricia Shop

After
403303_10150470355267563_665857562_8770479_796188770_n

Incredible, right? They had a vision for this beautiful wedding, and I'm so excited to share it with you!


Phil and Trish 1

phil and trish 2

phil and trish 4

Picnik collage

phil and trish 5


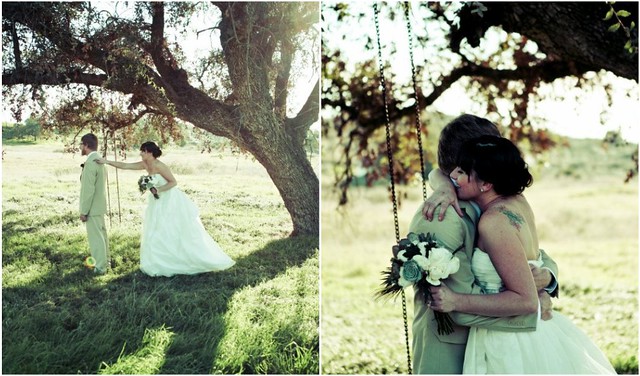
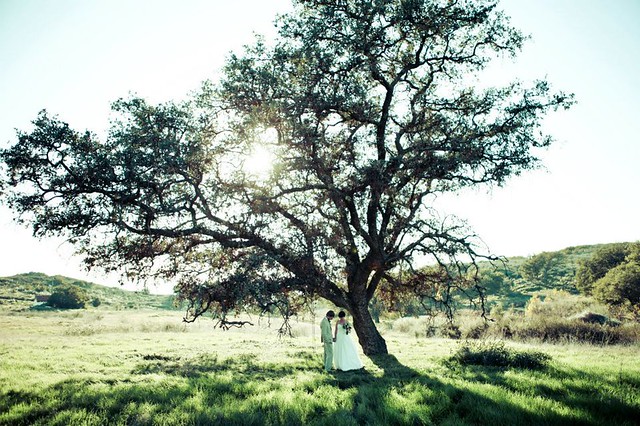
Phillip and Tricia had their first look at the site of Phil's proposal beneath this beautiful tree at his parent's avocado ranch. Isn't the bench swing he made so beautiful?
404738_10150470403432563_665857562_8770633_944604134_n

phil and trish 6

401119_10150470406337563_665857562_8770651_523543963_n

phil and trish 7

PhillipAndTricia - 171

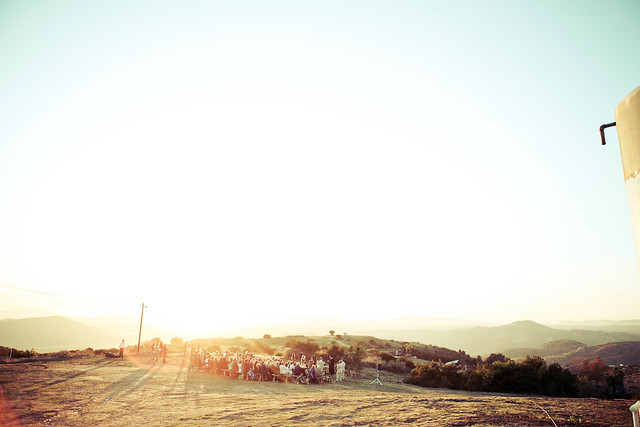
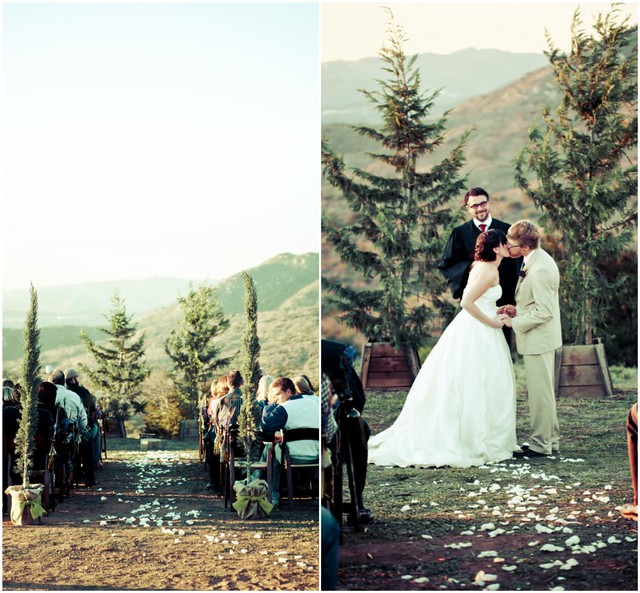
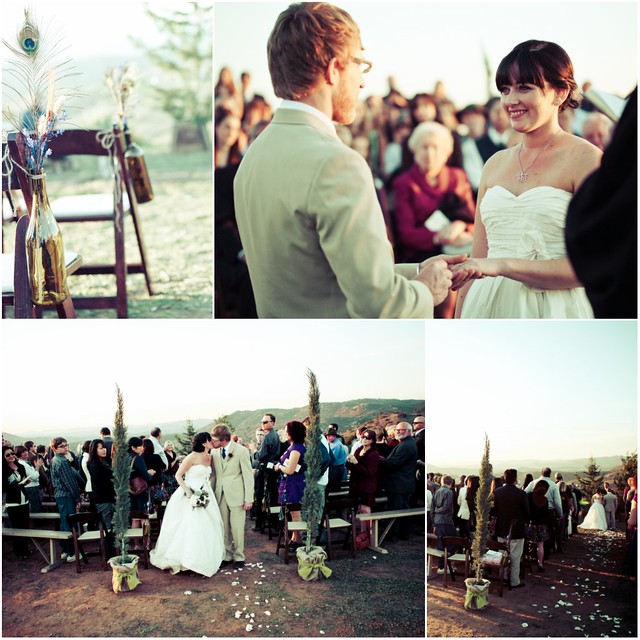
The ceremony was just before sundown and all of us guests got a gorgeous view of San Pasqual Valley.
PhillipAndTricia - 249

phil and trish 9

phil and trish 8

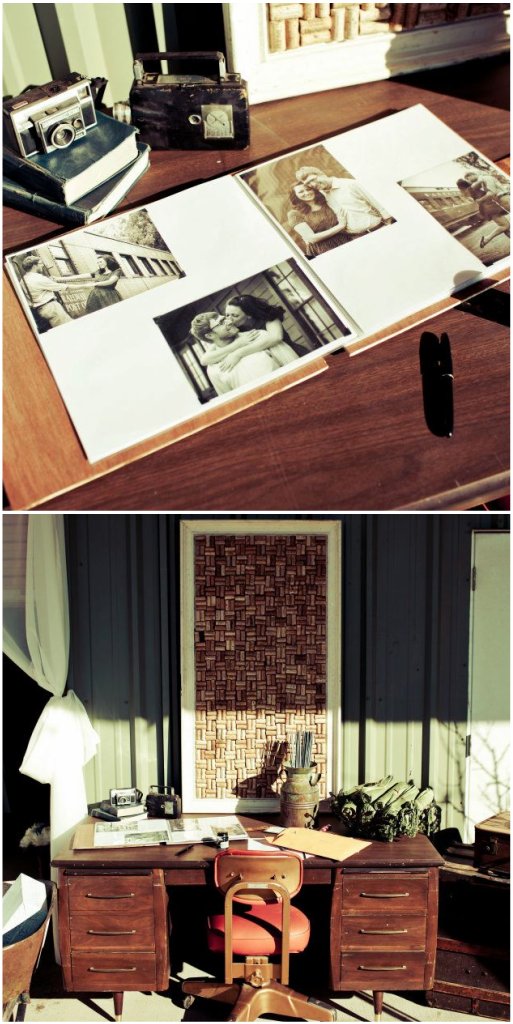
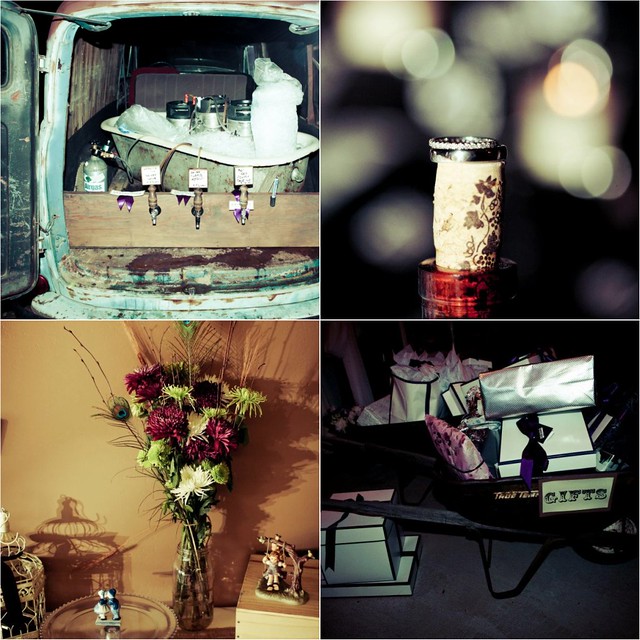
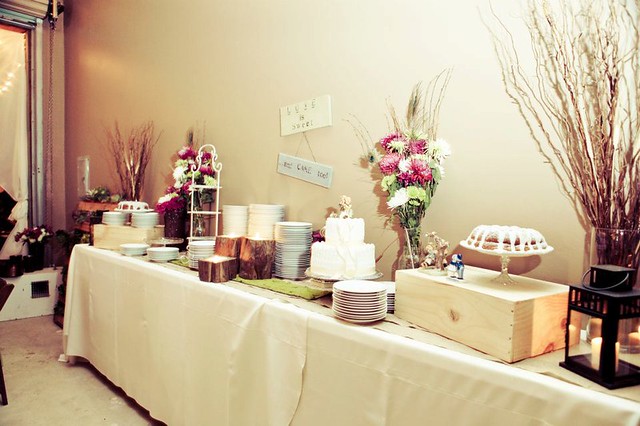
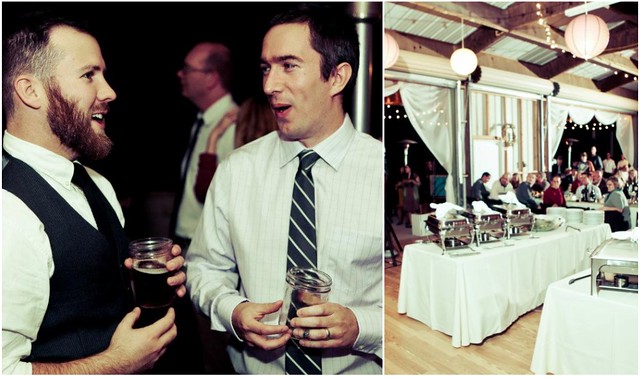
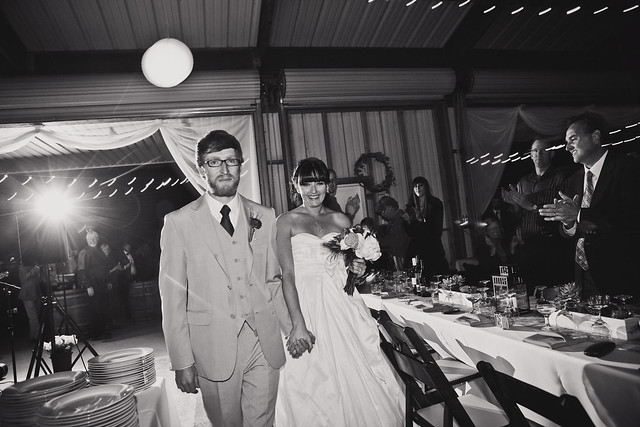
Then it was time to party back at the shop! During happy hour guests drank mojitos and sangria, three kinds of beer made just for the wedding by the groom's brother-in-law (with the kegs stored in an old tub in the back of an old truck), and kahlua in our coffee, made by the bride and groom. The cake buffet was stocked with homemade cakes from Tricia's girlfriends (I made a lavender lemon bundt cake). Gifts were collected in a wheelbarrow in front of the guest book table.

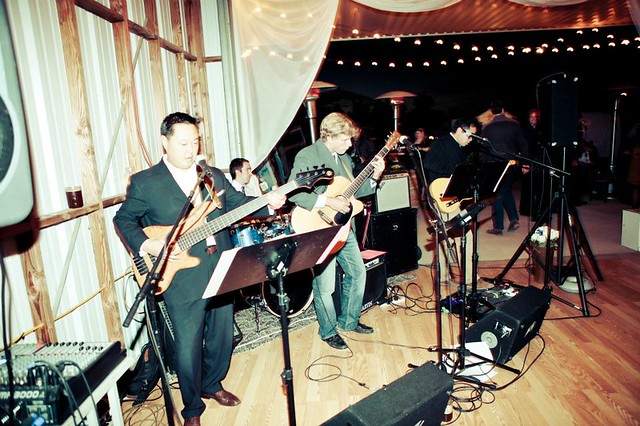
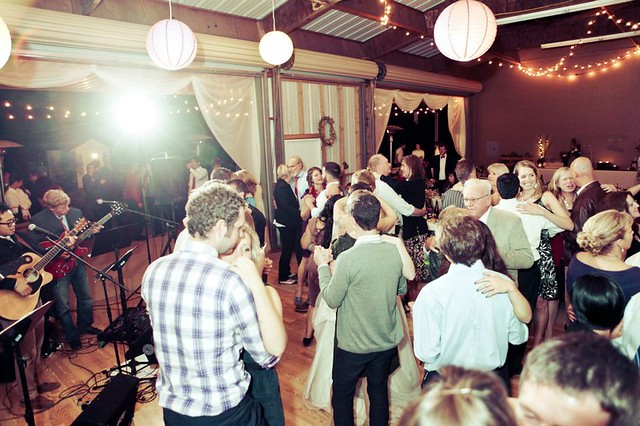
A live band made up of classmates of the bride and a professor kept the dance floor going well into the night. (see if you can spot E and I in that last photo!)
PhillipAndTricia - 311
PhillipAndTricia - 345

phil and trish 10

395494_10150470426592563_665857562_8770699_1985550762_n

my dashing husband :-)
phil and trish 11

394083_10150470426107563_665857562_8770695_61460366_n

396431_10150470442362563_665857562_8770827_529116353_n

There really was not a detail in this wedding without a personal touch. It was breathtakingly gorgeous, immensely fun, and very them.

Hope you enjoyed!

Photos: Hey Jonny
Catering: Terry at La Farfalla
Everything else: Bride, Groom, Family and Friends!
 

Latte Love All rights reserved © 2008-2011 | I am a HowJoyful Design by Joy Kelley